You make things. One-of-a-kind things. That’s what sets you apart. Your hands shape raw materials into something special, something meant for a single person. But selling custom work online can feel like trying to fit a square peg into a round hole. WooCommerce is built for mass-produced products—SKU numbers, inventory counts, predictable dimensions. That’s not your world.
I get it. I’ve been helping businesses grow for 15 years. And I can tell you this: You don’t need to fight WooCommerce. You just need to bend it to your will. Here’s how you handle custom orders, from deal to delivery, using nothing but WooCommerce, PayPal, and USPS.
Step 1: Make Your Deal
Before entering WooCommerce, start by working directly with your customer to define the specifics of the custom item. During this initial phase, discuss and finalize details such as:
- Item Specifications:
What exactly are you making? For instance, agree on a “widget” that measures 12 inches by 12 inches by 1 inch and weighs approximately 2 lbs. - Cost Estimation:
Determine a price based on the materials, labor, and any additional costs. - Custom Requirements:
Discuss any unique features, design elements, or adjustments needed for the custom order.
This upfront conversation ensures that both you and your customer are on the same page regarding dimensions, weight, and pricing before moving into the WooCommerce order process.
Step 2: Create a Custom Product in WooCommerce
Once the deal is finalized, you’ll need to create a custom product in WooCommerce. This product acts as a placeholder for the custom order, allowing you to generate an invoice, calculate shipping, and process payment seamlessly.
Add a New Product
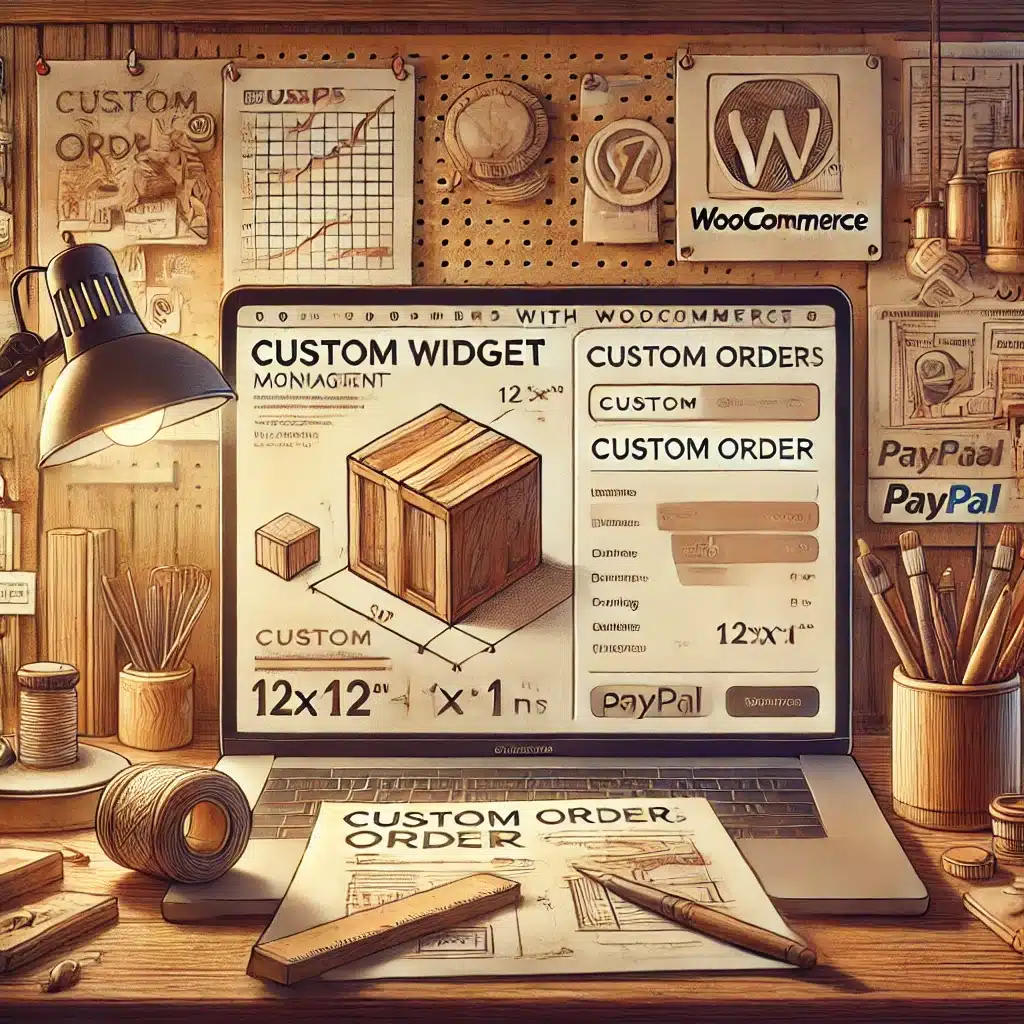
Navigate to Products → Add New in your WordPress dashboard. Create an entry titled “Custom Widget” (or another name that fits the order). This will serve as the product listing for your unique item.

Enter Product Details
Input the agreed-upon specifications:

- Set the dimensions of the item within its packaging (e.g., 12x12x1 inches).
- Enter the weight (e.g., 2 lbs) for accurate shipping calculations.
- Adjust the price based on the custom order agreement.
- Modify inventory settings—you can set the stock to “1” or manage it manually.


If you don’t want the product visible in your public store, mark it as hidden or private under the product settings.
Add Custom Attributes
To ensure clarity, you can add custom fields or order notes that specify this is a one-off custom order. This helps avoid confusion and ensures both you and the customer understand the product’s unique details.
Step 3: Create a Manual Order via wp-admin
Once your custom product is set up, you’ll need to manually create an order in WooCommerce. This allows you to generate an invoice, calculate shipping, and process payment.
Navigate to Orders
In your WordPress admin panel, go to WooCommerce → Orders. This is where all orders—both automated and manual—are managed.
Add a New Order

Click Add Order to create a new entry. In the order setup screen, select an existing customer or manually enter new customer details. Once the customer is set, add the custom widget product you created earlier.

Customize Order Details
Modify the order as needed:
- Adjust quantities if the customer has ordered more than one unit.
- Modify pricing if any custom pricing arrangements have been made.
- Apply discounts or additional fees to reflect any special terms.

Manually Add Shipping (Important)
Unlike orders placed on the front end, WooCommerce does not automatically calculate shipping for manual orders. You must manually add a shipping method:
- Scroll down to the Order Items section.
- Click Add Item → Add Shipping.
- Select the appropriate shipping method (e.g., USPS, Flat Rate, Free Shipping).
- Ensure the correct shipping cost is applied.
Additionally, if WooCommerce Services or another real-time shipping plugin is used:
- Ensure the customer’s shipping address is entered correctly.
- Click “Recalculate” to update shipping costs based on the address and product dimensions.
Once shipping is added, save the order to apply the changes.
Step 4: Invoice, Payment, and Shipping
With the order created, WooCommerce takes care of the rest:
- Invoice Generation:
WooCommerce automatically generates an order confirmation and invoice. If your email notifications are set up, your client receives this invoice with all the relevant details, including shipping costs and taxes. - Client Payment:
The client logs into your site, reviews the invoice, and completes payment using the integrated PayPal gateway. (Note: While this guide assumes USPS and PayPal, other shipping and billing providers can work similarly.) - Shipping Fulfillment:
Once payment is received, the order status updates, allowing you to print shipping labels via USPS and ship the custom widget to your customer.
Conclusion
Selling custom work online isn’t about finding the perfect platform. It’s about making the platform work for you. WooCommerce, PayPal, and USPS can handle the job—you just need to tell them how. This method lets you run a smooth, professional business while still delivering the one-of-a-kind craftsmanship that makes your work special.
Now, go make something amazing. And when you’re ready, get paid for it the easy way.


